~ 3 min read
Vite + React: The Ultimate Combination for Fast Project Setup

Welcome to our guide on how to set up a React project with Vite, a powerful and efficient development tool that has been gaining popularity among React developers. Vite is a lightweight build tool that offers several advantages over other popular tools like create-react-app.
Vite has a faster development experience and instant hot module replacement which means no more waiting for the browser to refresh after every change. It also has a smaller bundle size and uses native ES modules which means faster loading and update time. In this post, we will show you how to set up a React project with Vite, and explain why this combination is the ultimate choice for a fast, efficient and lightweight project setup.
Before we're going to start creating out first React project with Vite we need to take care of two prerequisites: the installation of Node.js and Yarn.
In order to install Node.js, go to the project's website https://nodejs.org/, download the software installer and follow the installer instruction to install the current Node.js version on your system:
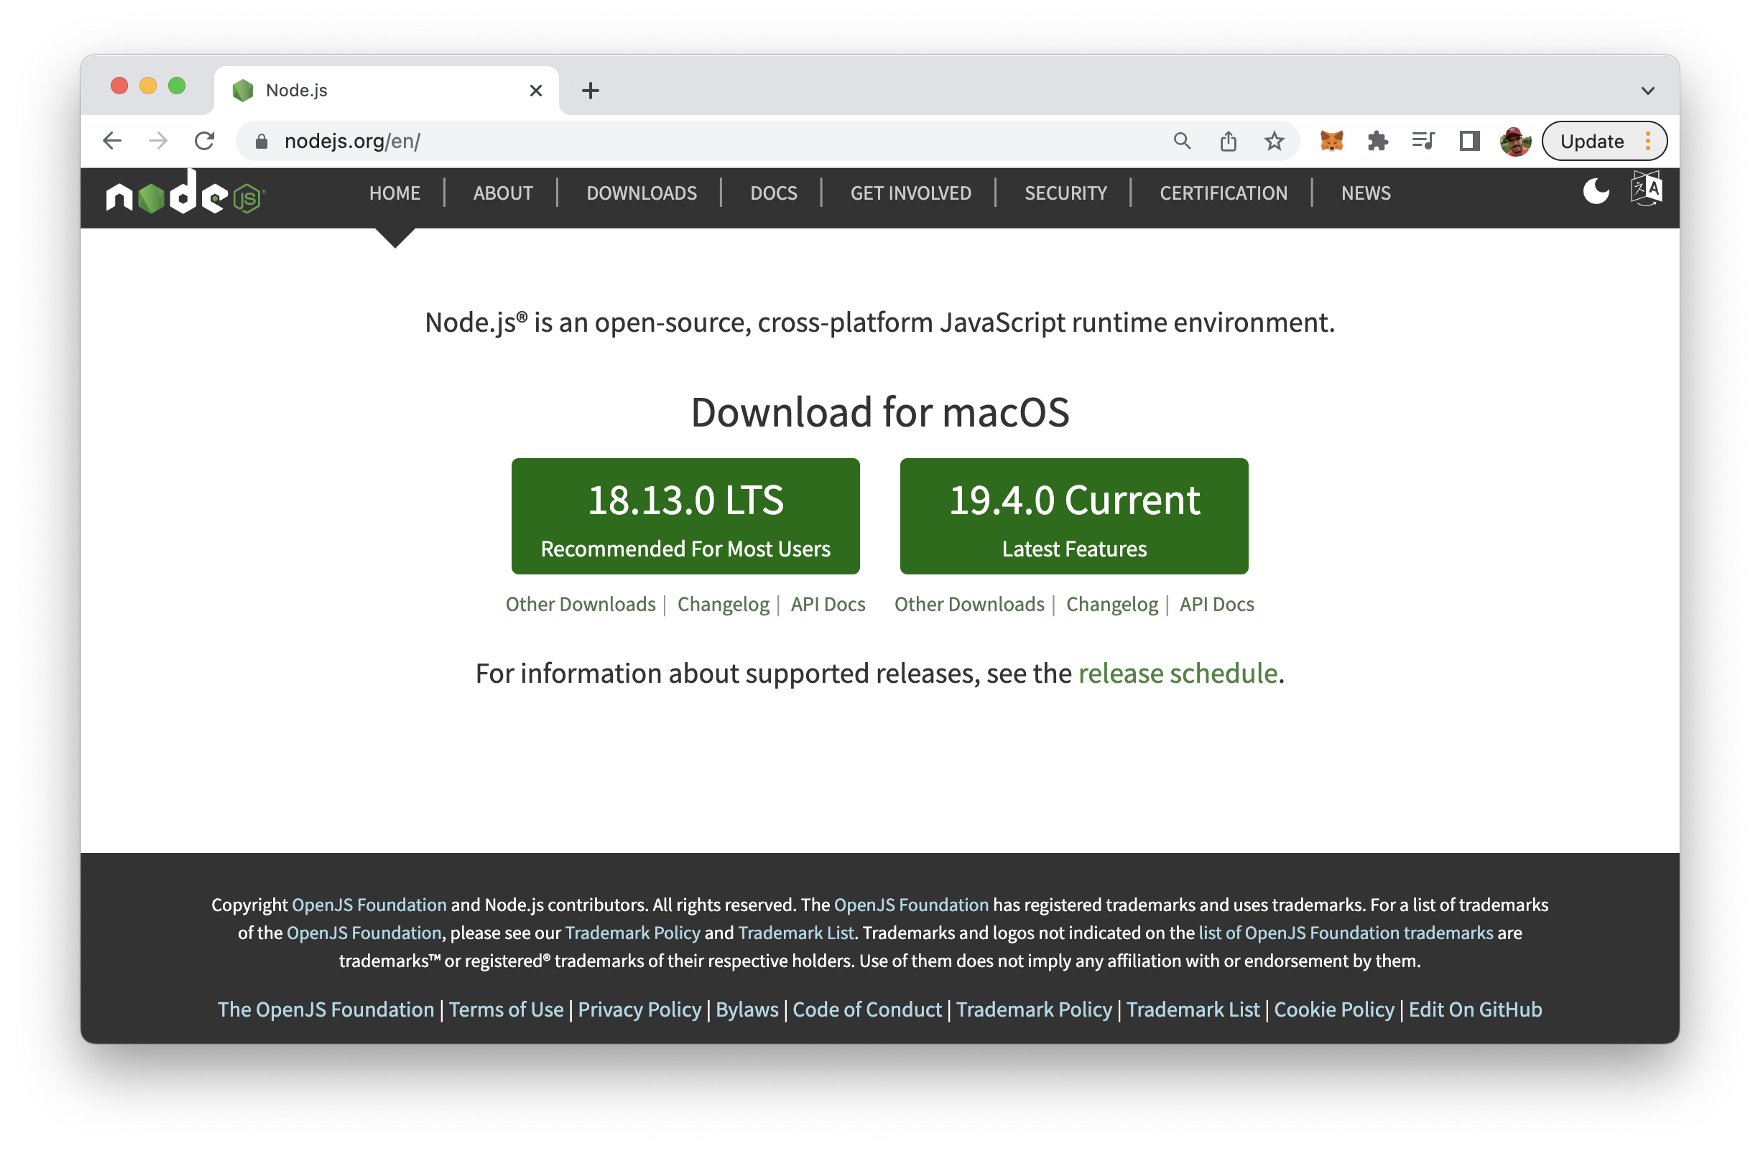
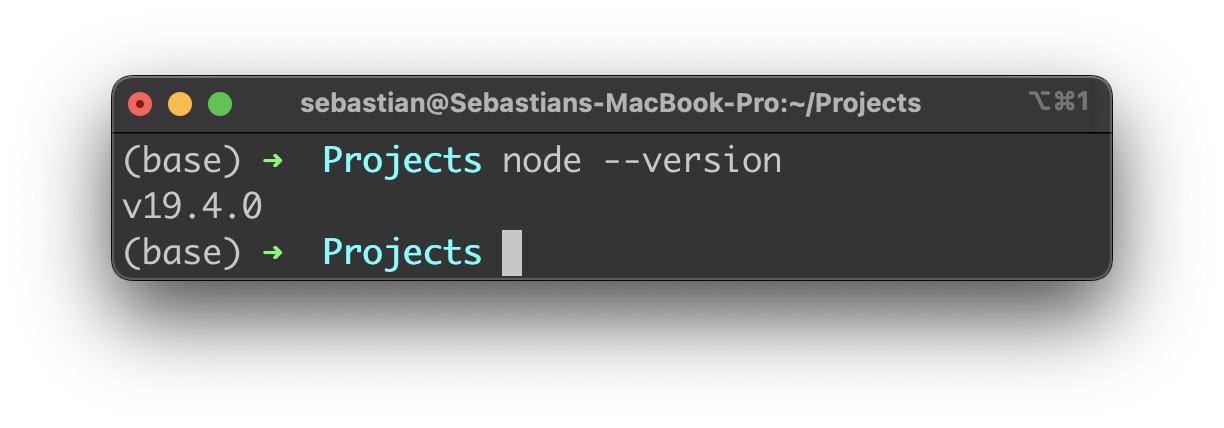
You can then check for the installed Node.js version by using the following command:
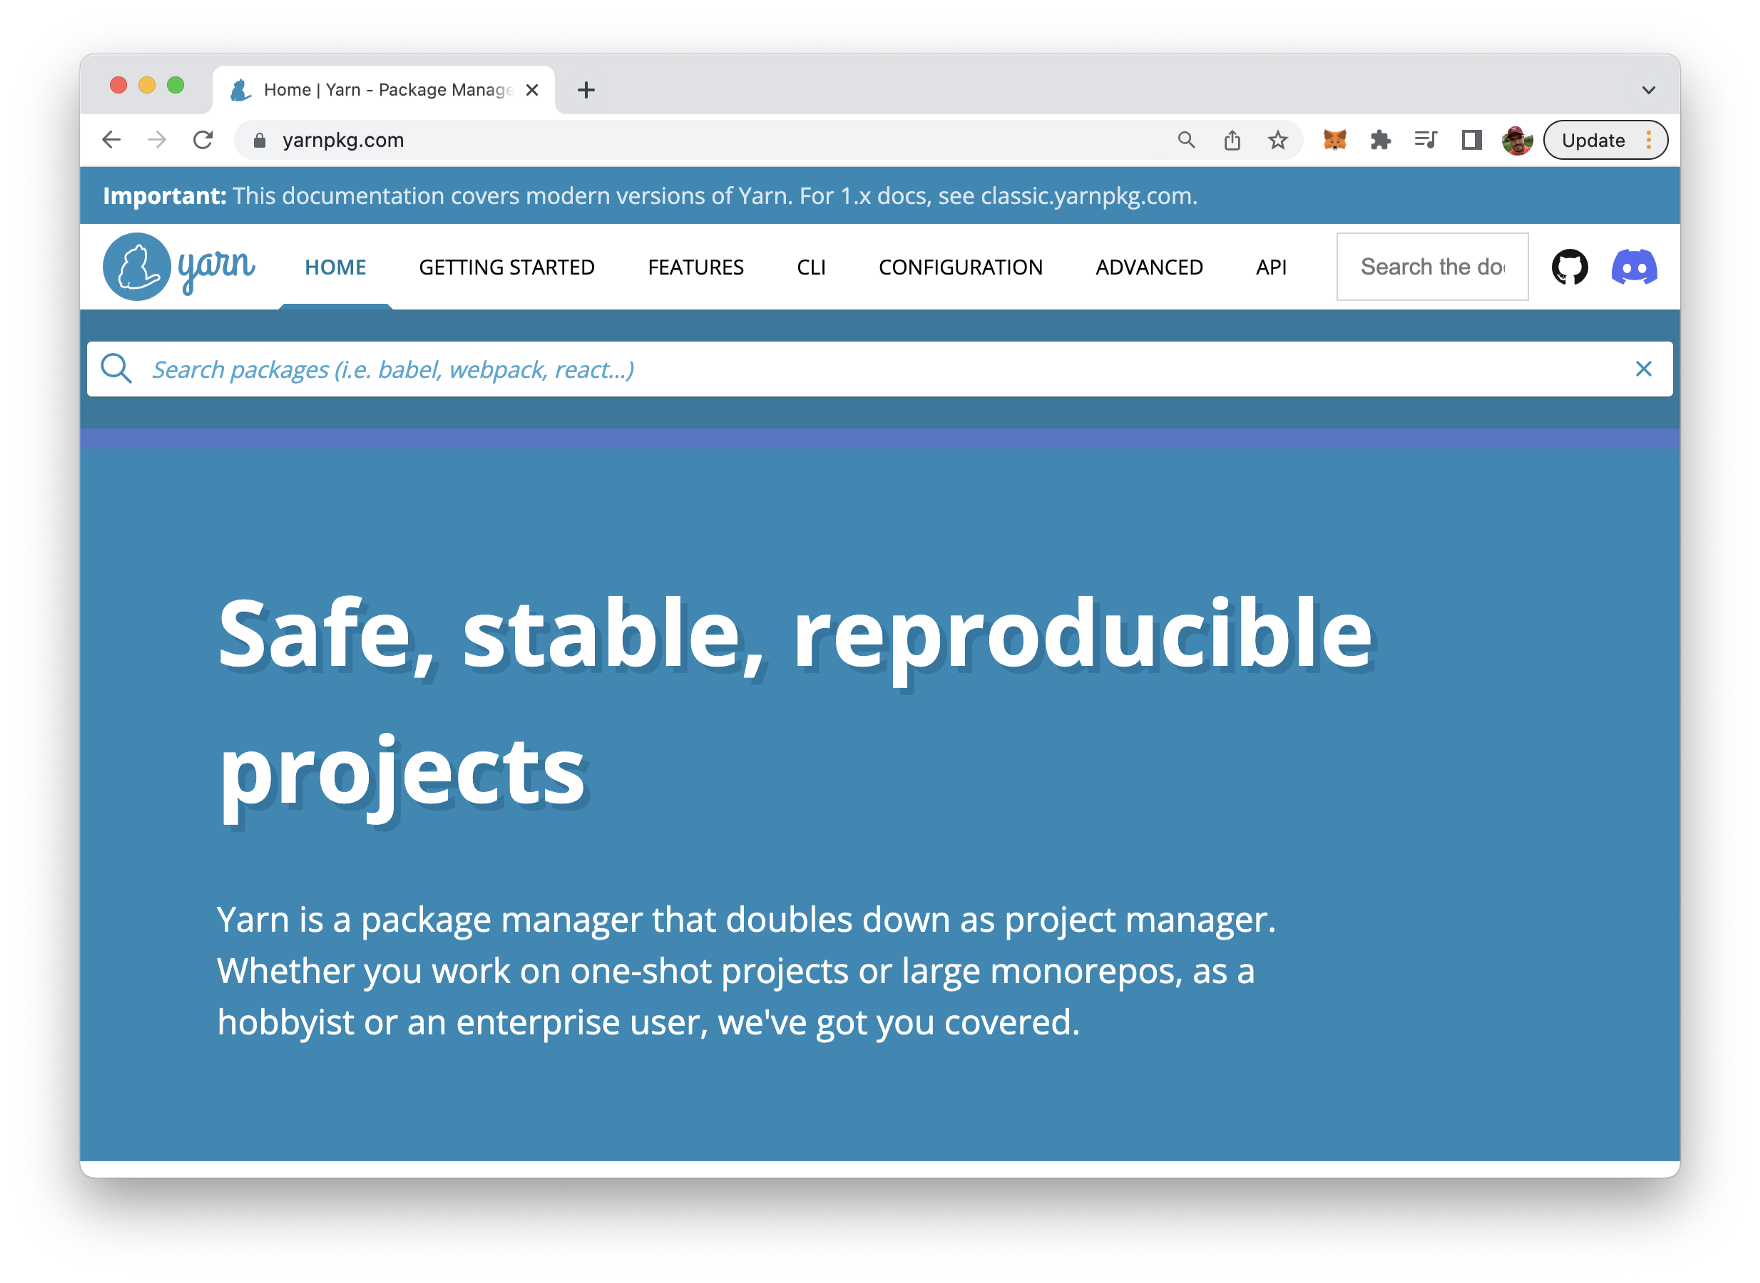
Next, we need to install the Yarn package manager as well. Yarn's website can be found at: https://yarnpkg.com/:
The preferred way to manage Yarn is through Corepack. Corepack is part of the Node.js installation and needs to be enabled by typing in:
$ corepack enableThen Corepack can be used to install Yarn:
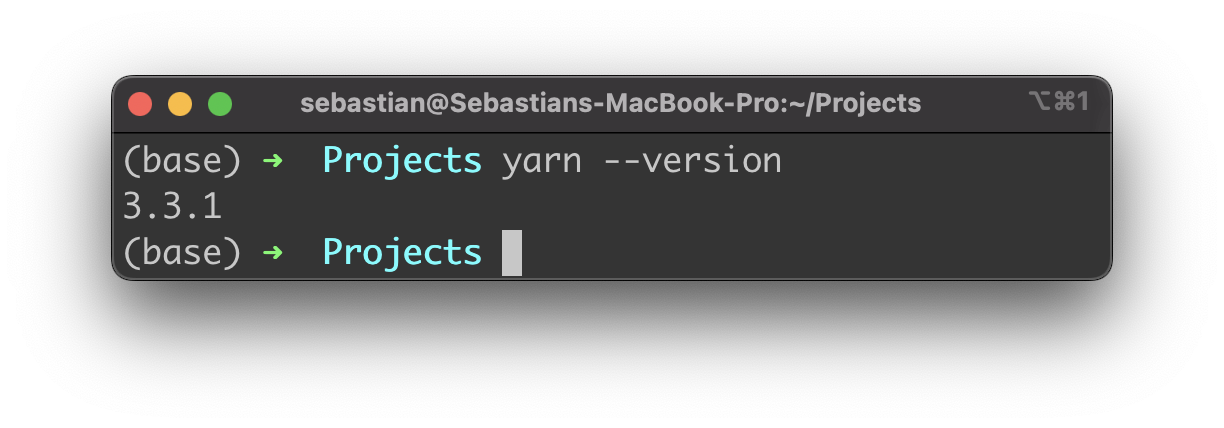
$ corepack prepare yarn@stable --activateThe yarn command is then activated and available on your system:
Creating A React Project With Vite
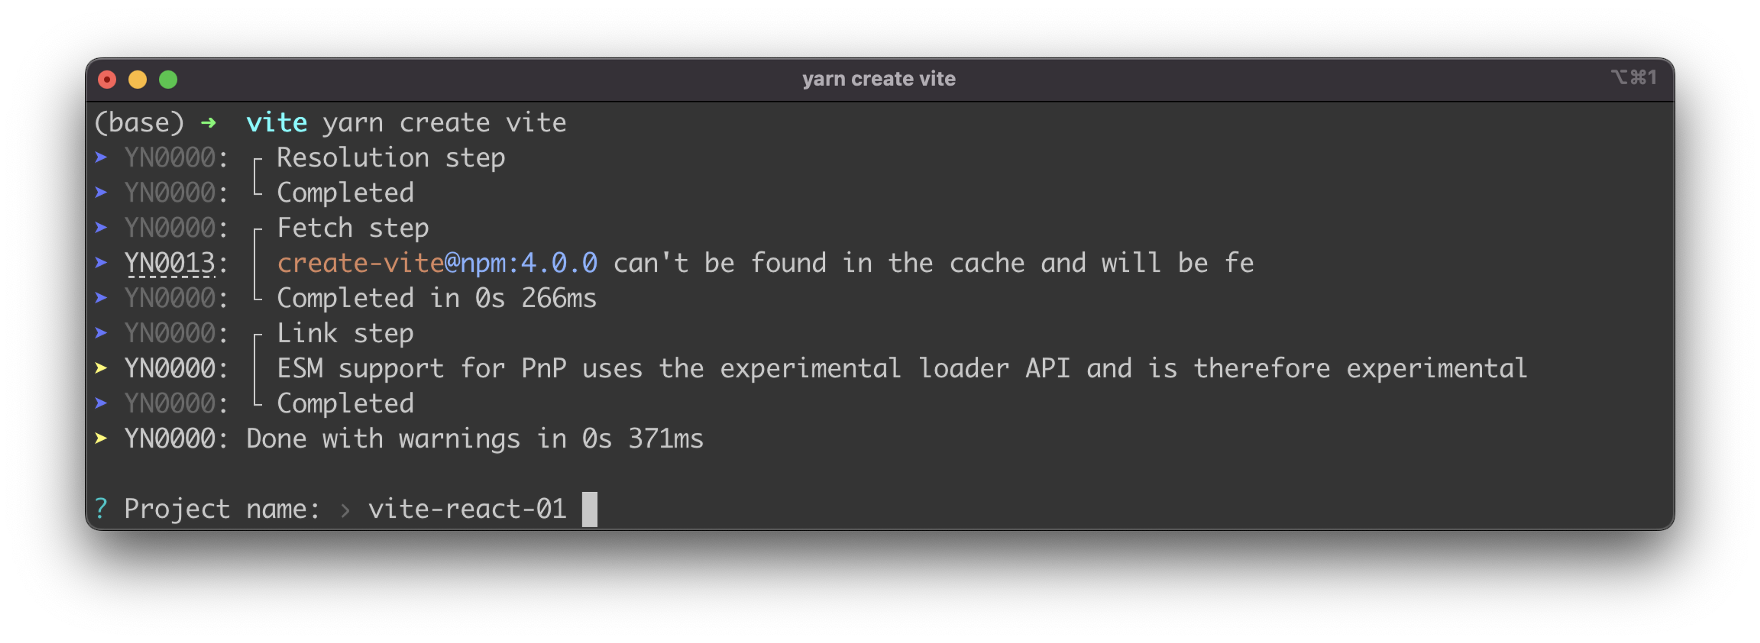
Let's now create a new React project with vite. Type in the following command to start the creation process on the command line:
$ yarn create viteYou'll then be prompted to enter a new project name next:
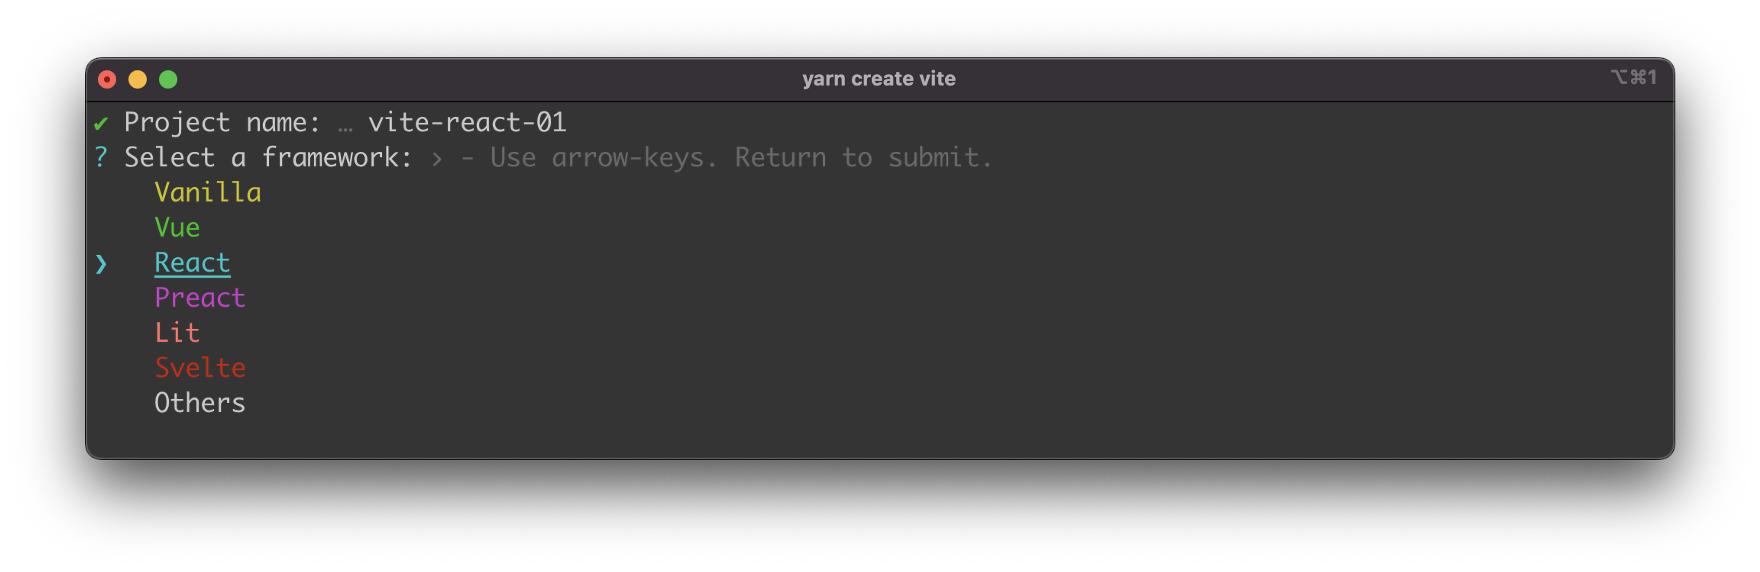
Type in vite-react-01 and hit return to continue. Vite will then provide you with a list of JavaScript frameworks you can choose from. Use the arrow key to select the entry "React" and hit return again:
Once you've selected "React" you're asked to specify the variant of the React project. You have four options to choose from:
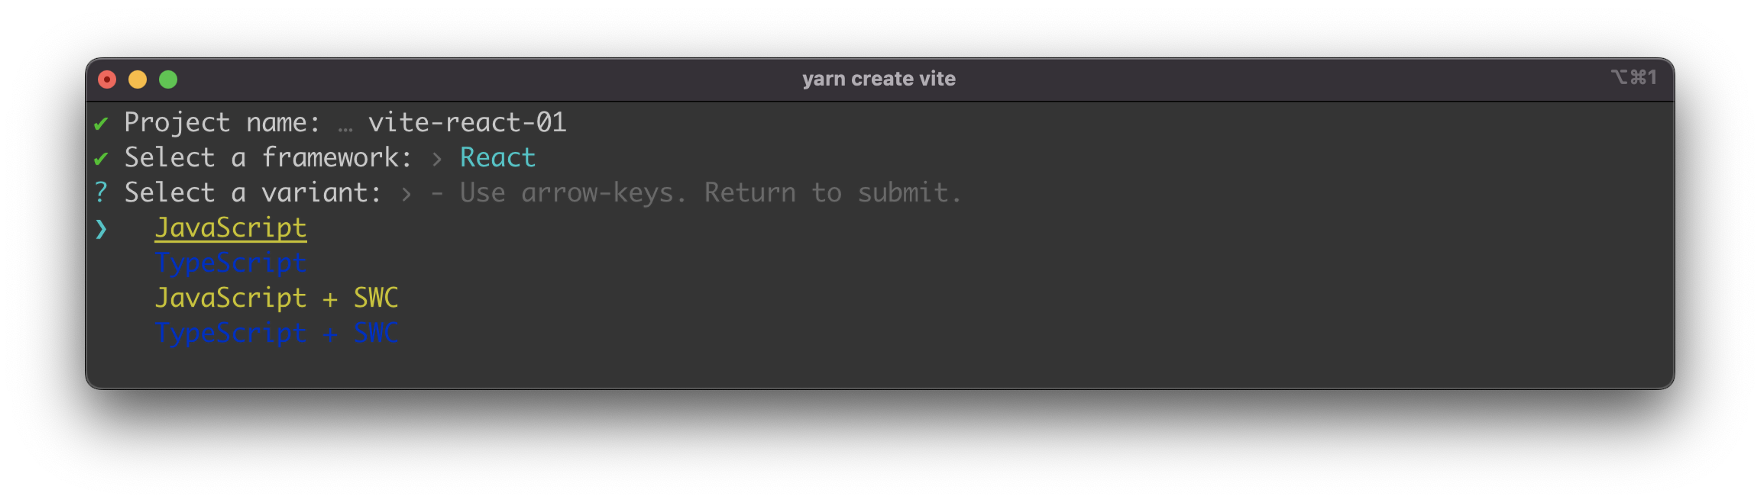
- JavaScript
- TypeScript
- JavaScript + SWC
- TypeScript + SWC
So you can decide to create a React project which is using just plain JavaScript or which is supporting Typescript as well. In additon you can choose to use SWC which is a new Rust-based bundler, which claims to be a lot of faster then JS-based bundlers. For the example of this article we're choosing option "TypeScript +SWC".
Once selected the project setup is completed:
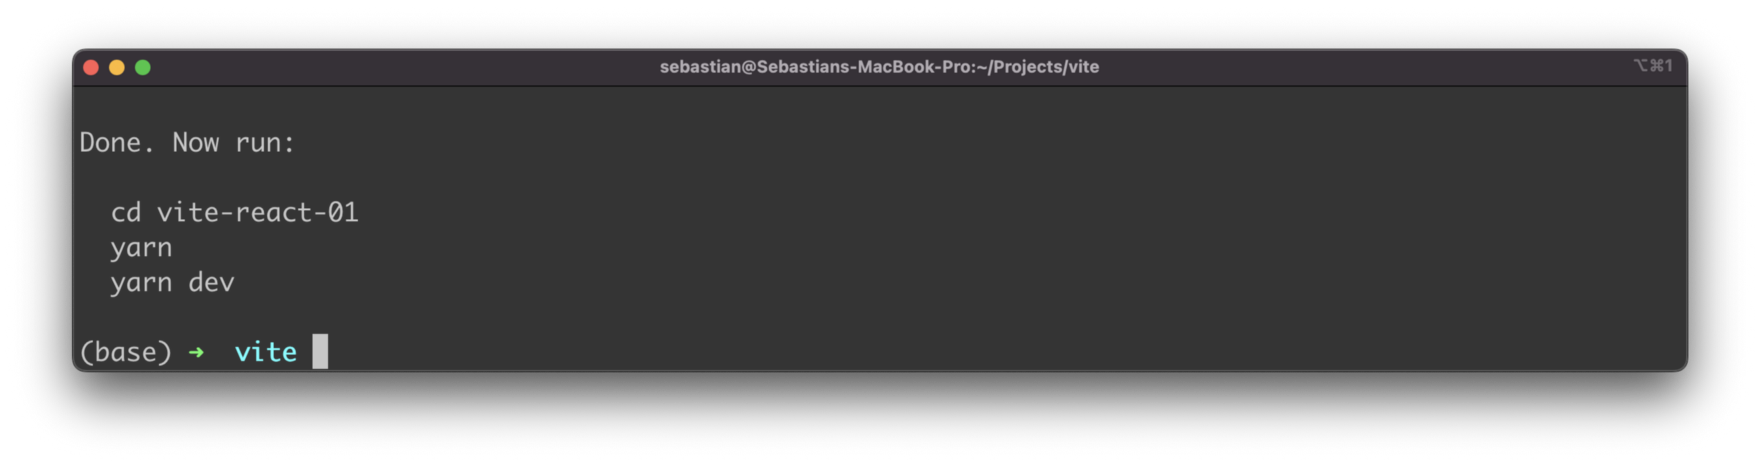
You can now enter the new project directory (with the name of the project you've entered:
$ cd vite-react-01Next you need to execute the yarn command:
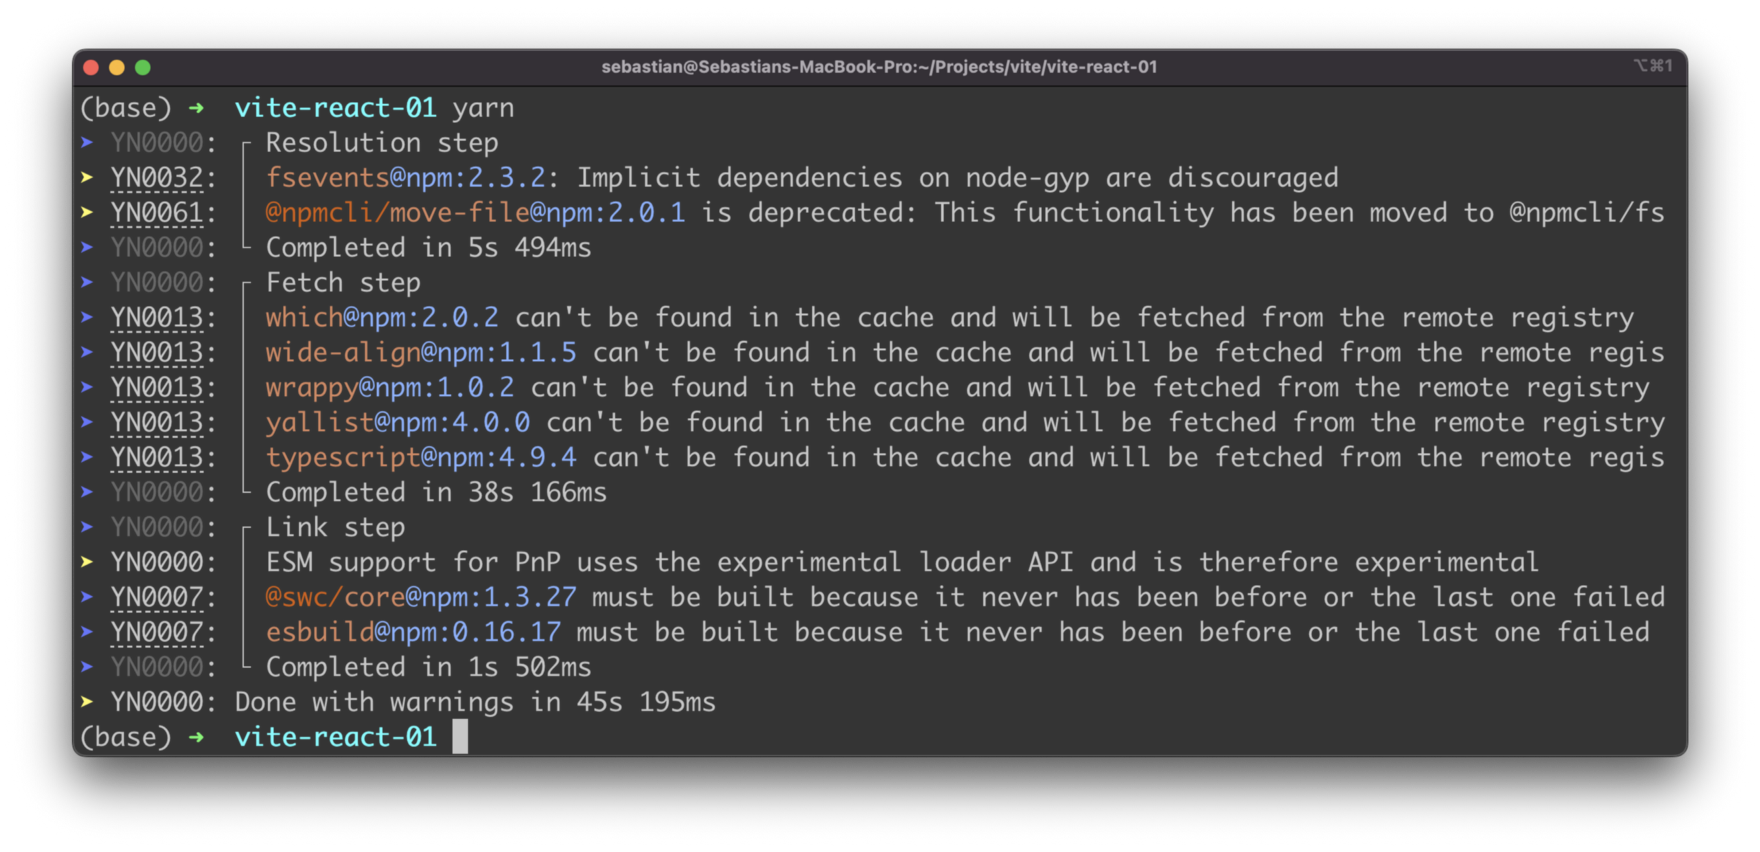
$ yarnThis makes sure that all the needed dependencies of the project are being downloaded and installed:
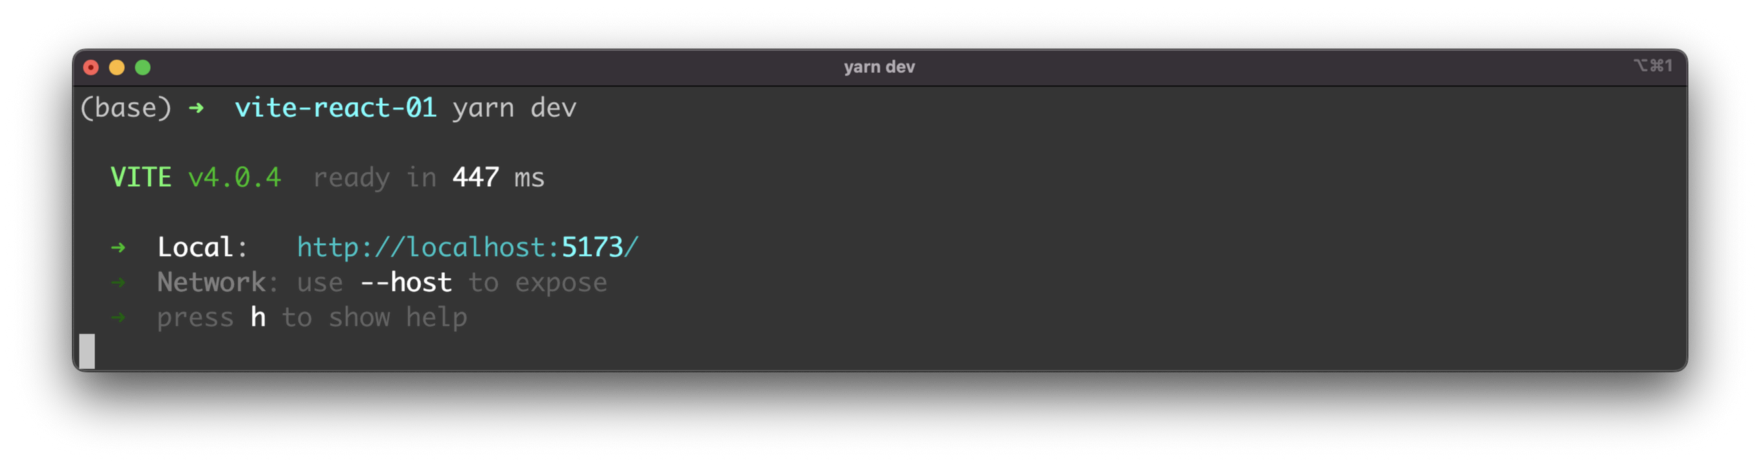
Next we're starting the development web server with command:
$ yarn devAs a response you can see that the server was started on port 5173:
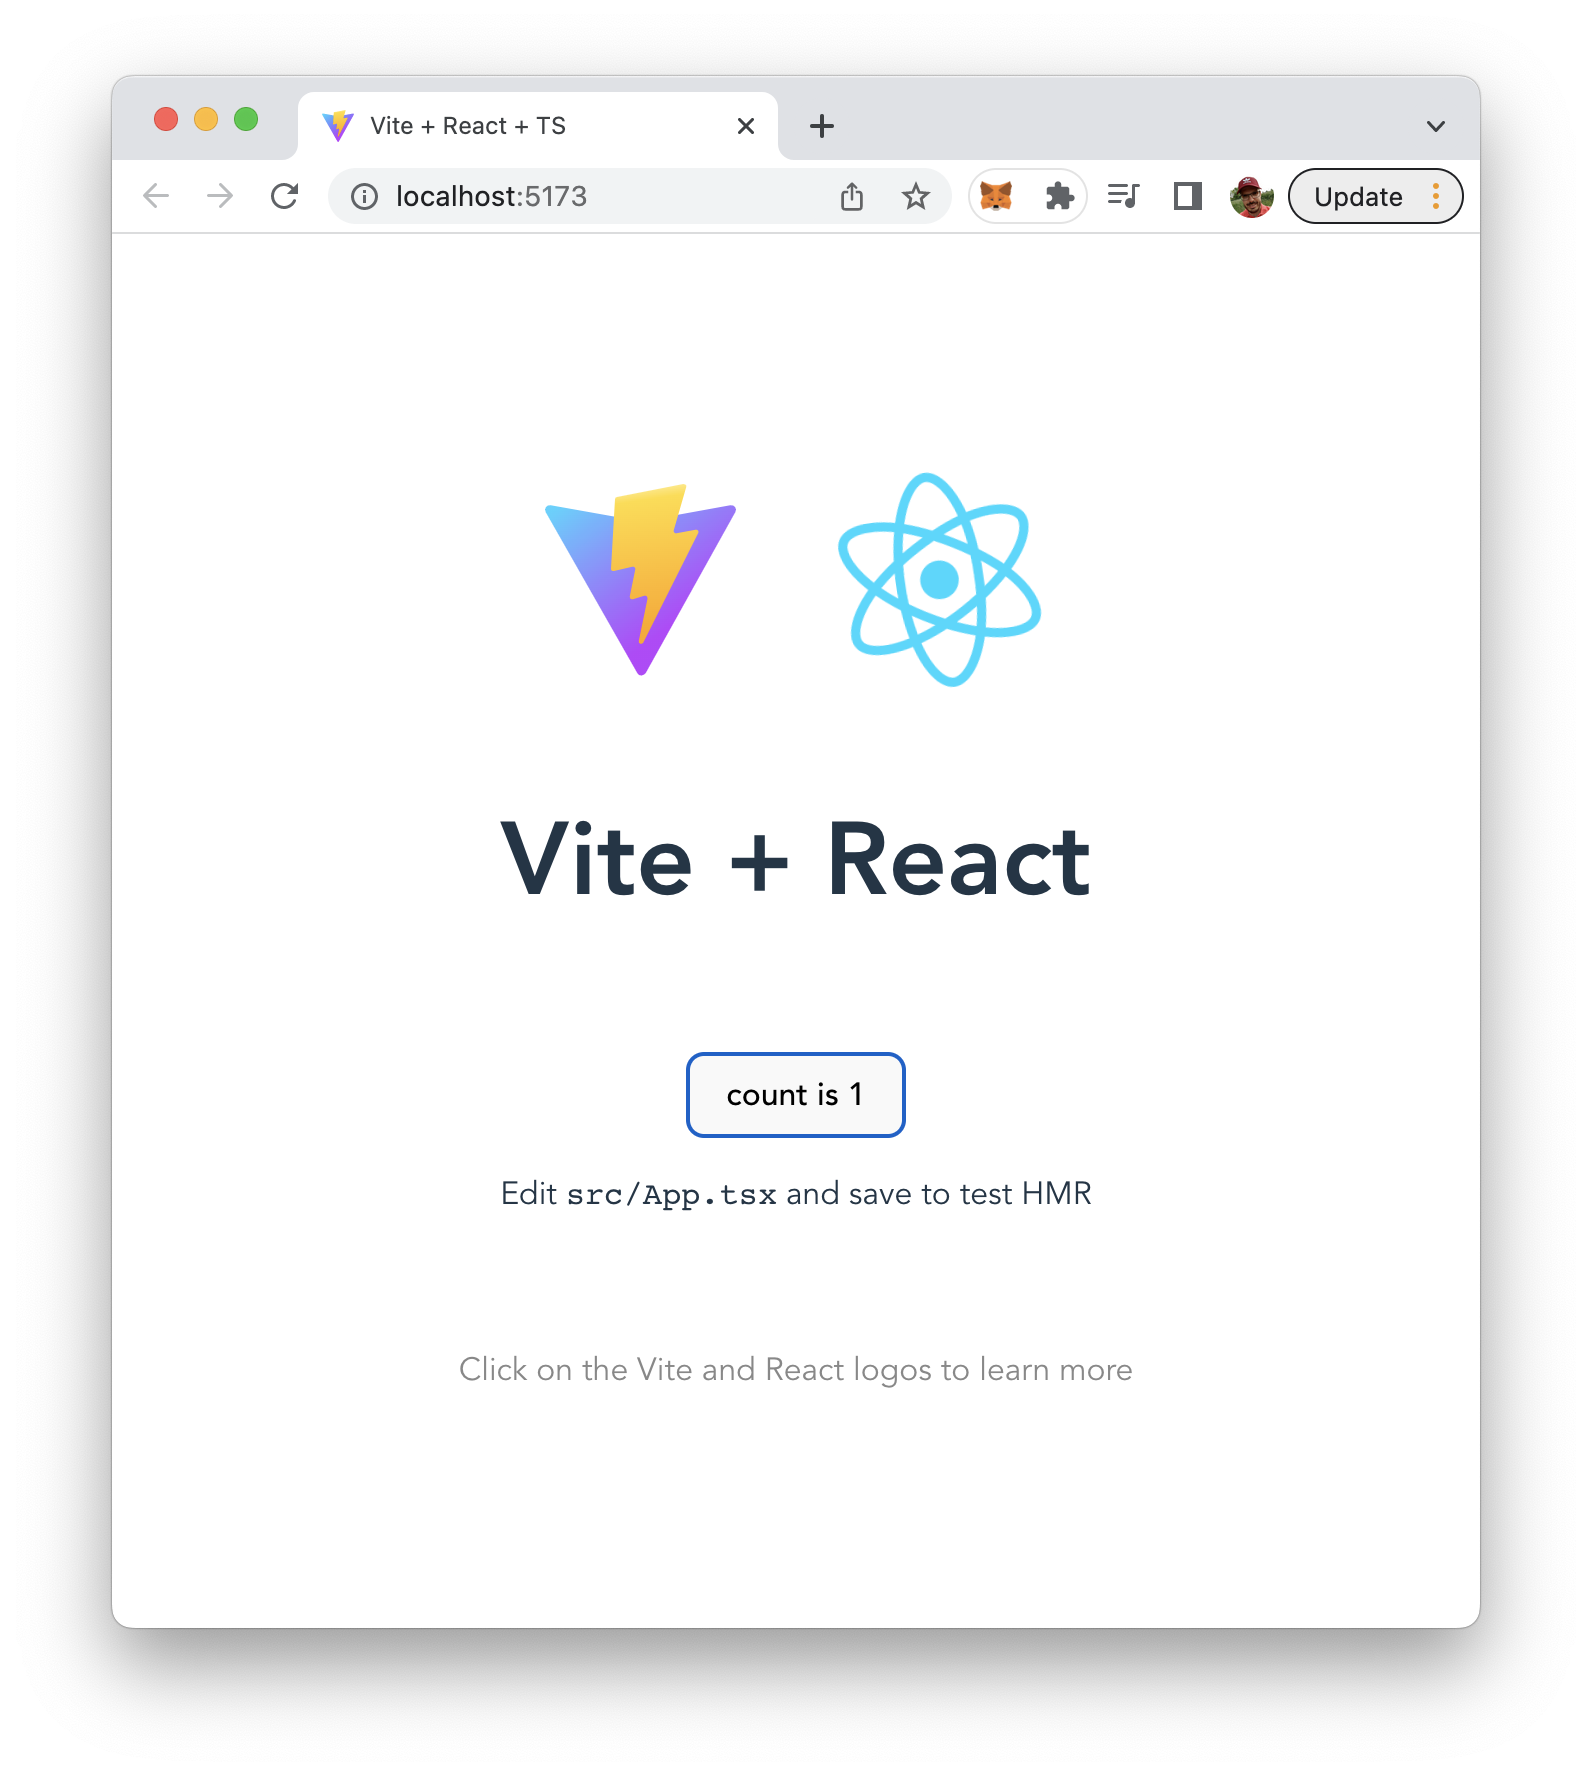
Accessing it in the browser will present the following website to you:
Conclusion
Vite and React are an ultimate combination for fast and efficient project setup. By using Vite as your development server and React as your front-end library, you can enjoy a faster development experience, instant hot module replacement, smaller bundle size, and faster loading times. Setting up a React project with Vite is also a straightforward process, and we hope this guide has helped you understand how to do it.