~ 3 min read
How To Implement A Progress Bar With CSS (With Gradient)
The design of a progress bar can be implemented with pure CSS. This article gives you a step-by-step guide of how to use CSS to style a progress bar with gradient color. Let’s get started …
Step 1: Create A New File index.html
Let’s start in the first step to create a new simple index.html file with the following structure inside:
<!DOCTYPE html>
<html lang="en">
<head>
    <meta charset="UTF-8">
    <meta http-equiv="X-UA-Compatible" content="IE=edge">
    <meta name="viewport" content="width=device-width, initial-scale=1.0">
    <title>CSS Progress Bar Example</title>

    <style>

    </style>
</head>
<body>

    <script>

    </script>
</body>
</html>
Step 2: Add The HTML Structure For The Progress Bar Inside The Body Tag
Next add the basic HTML structure to the body section of the HTML element which is needed to output the progress bar:
<div class=”progress-bar”>
  <div>
  </div>
</div>
Here you can see that we need one outer div and one inner div. The outer div element gets assigned the CSS class with the name progress-bar.
Step 3: Add The CSS Code
So with the two div elements available in our HTML code we can start to add the need CSS code within the style element as you can see in the following code listing:
...
  <style>
        .progress-bar {
           height: 24px;
           width:  360px;
           border-radius: 10px;
           background-color: lightblue;
           margin: 50px;
        }

        .progress-bar > div {
            width: 0%;
            height: 100%;
            border-radius: 10px;
            background-image: linear-gradient(to right, lightskyblue, blue);
            background-size: 360px 100%;
            transition: width 200ms;
        }
    </style>
    ...
The progress-bar class contains the CSS code which is needed to style the progress bar itself in an unfilled state.
The inner div element is used to fill the progress bar. The width property is used to define to which extend the progress bar should be filled, by default we’re setting it to 0%, so that the progress bar is displayed unfilled. In the following we’ll register an interval function by using a few lines of JavaScript code which is increasing this property by 10% every second.
The progress bar should be filled with a gradient, so we’re making use of background-image and background-size.
Step 4: Add Some JS Code To Animate The Progress Bar For Demonstration
Finally let’s a little bit of JavaScript code inside the <script> tag, so that we’re able to demonstrate how the progress bar filling state changes:
<!DOCTYPE html>
<html lang="en">
<head>
    <meta charset="UTF-8">
    <meta http-equiv="X-UA-Compatible" content="IE=edge">
    <meta name="viewport" content="width=device-width, initial-scale=1.0">
    <title>CSS Progress Bar Example</title>

    <style>
        .progress-bar {
           height: 24px;
           width:  360px;
           border-radius: 10px;
           background-color: lightblue;
           margin: 50px;
        }

        .progress-bar > div {
            width: 0%;
            height: 100%;
            border-radius: 10px;
            background-image: linear-gradient(to right, lightskyblue, blue);
            background-size: 360px 100%;
            transition: width 200ms;
        }
    </style>
</head>
<body>
    <div class="progress-bar">
        <div>
        </div>
    </div>


    <script>
        setInterval(myTimer, 1000);

        function myTimer() {
            console.log("Interval event")
            const pb = document.querySelector('.progress-bar > div');
            let progress = parseInt(pb.style.width,10);
            console.log("Widht Before: " + progress);
            if (progress < 100) {
                progress = progress + 10;
            } else {
                progress = 0;
            }
            console.log("Widht After: " + progress);
            pb.style.width = progress + '%';
        }
    </script>
</body>
</html>
Here we’re implementing a function myTimer which is registered by using the setInterval function to run every 1000 milliseconds (= every second). The purpose of this function is to increase the progress bar by 10% by changing the width styling property of the inner div element accordingly.
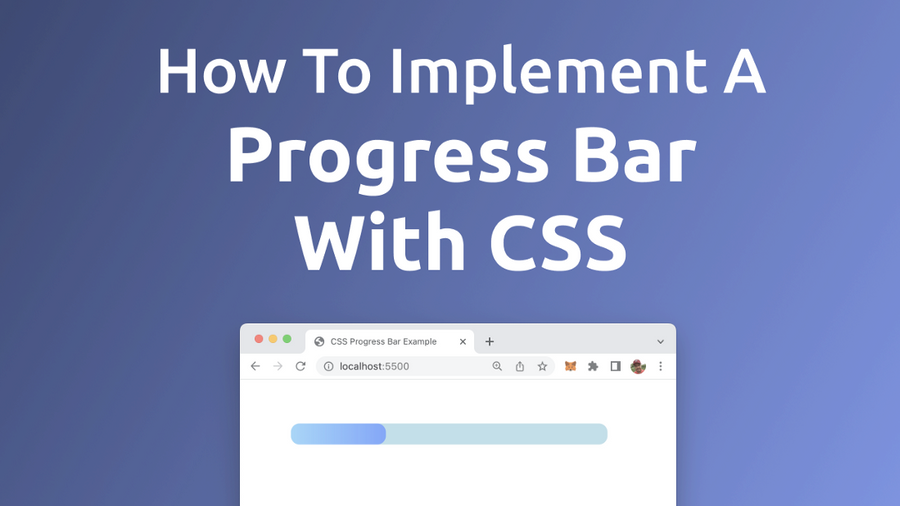
That’s it, now you can open index.html in your browser and you should be able to see the final progress bar result as output.